Driver Controls
The code provided is for reference only! These are extremly basic topics, similar to what can be found in the API.
Examples provided are to get someone new kickstarted so they can at least interact with their robot... but, it is fully expected that you code it yourself for difficult topics!
In all cases continuing forward, code will not be directly provided - but reference code may be incorporated to show students how math concepts are translated to code logic.
How do VEX robots typically move?
In order to drive a robot, you must first understand how it moves. For Vex, most robots operate with a differential drive wheelbase (drivebase, drivetrain, etc..) - which can also referred to as tank drive. With tank drive it is called differential drive because each side of the drivetrain can transmit different amounts of power to the wheels. Understanding this is important, because this determines the fundementals in how you would move the robot!
When moving forward and backwards, it's very intuitive: if all the wheels are spinning at the same speed, then we are moving either forwards or backwards.

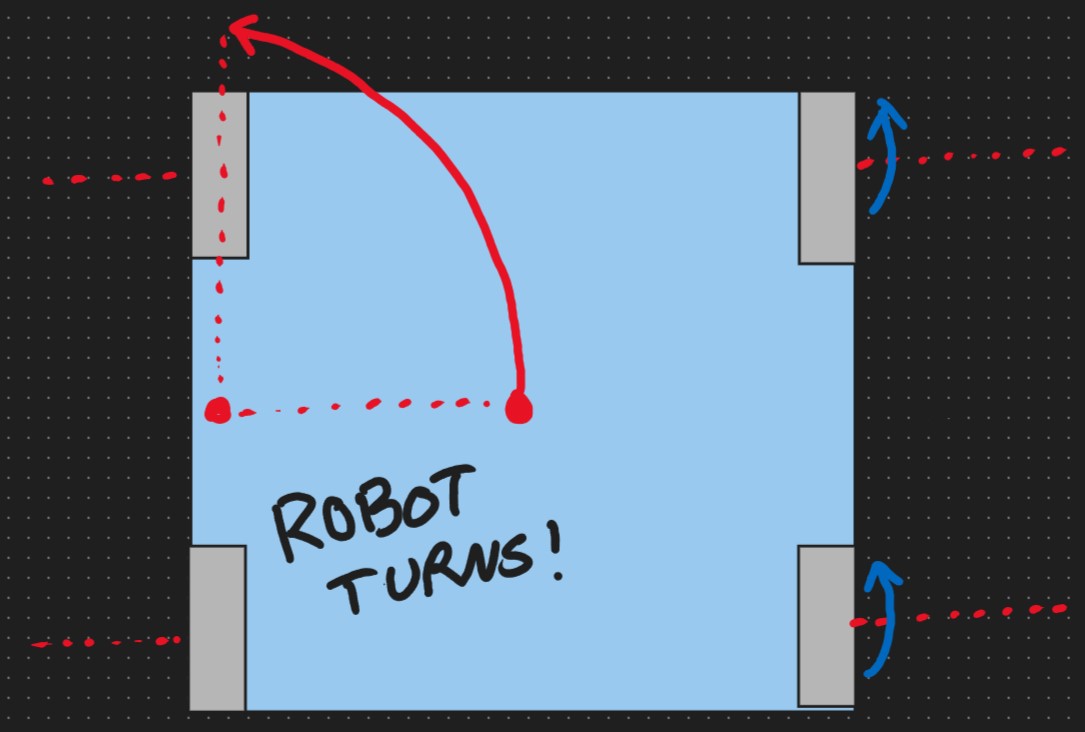
With Turning, it gets a bit more complicated. Depending on the difference in speed between the two sides you end up following a curve. To not get too into the weeds of the dynamics (fancy word for things moving) of the drivetrain a basic visual example is provided below. This shows a drivebase with one side spinning [right side] and the other side not spinning [left side]:
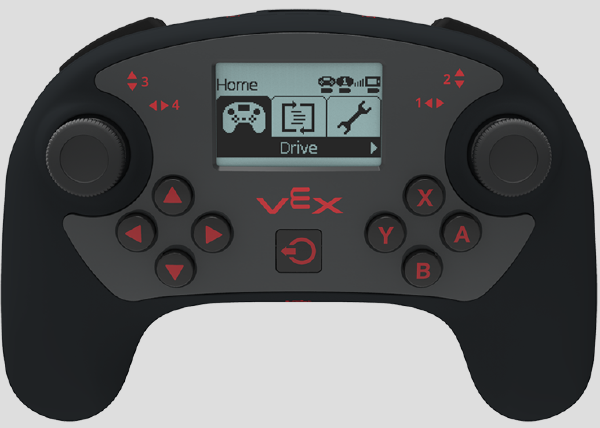
Each robot is controlled with a VEX V5 controller - which is connected to the respective V5 Robot's brain. This controller
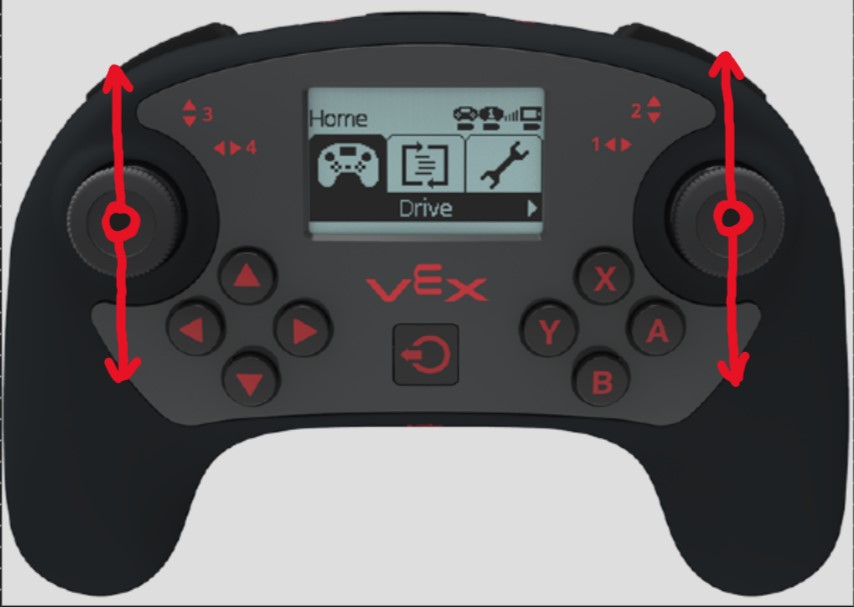
Tank Drive (Single Axis)
// Create the Vex objects
competition Competition;
controller Controller;          // creating the controller object
motor motorLeft = motor(PORT1); // creating the left side motor
motor motorRight = motor(PORT2); // creating the right side motor

void userControl(void) {
    while(true){

    }
}
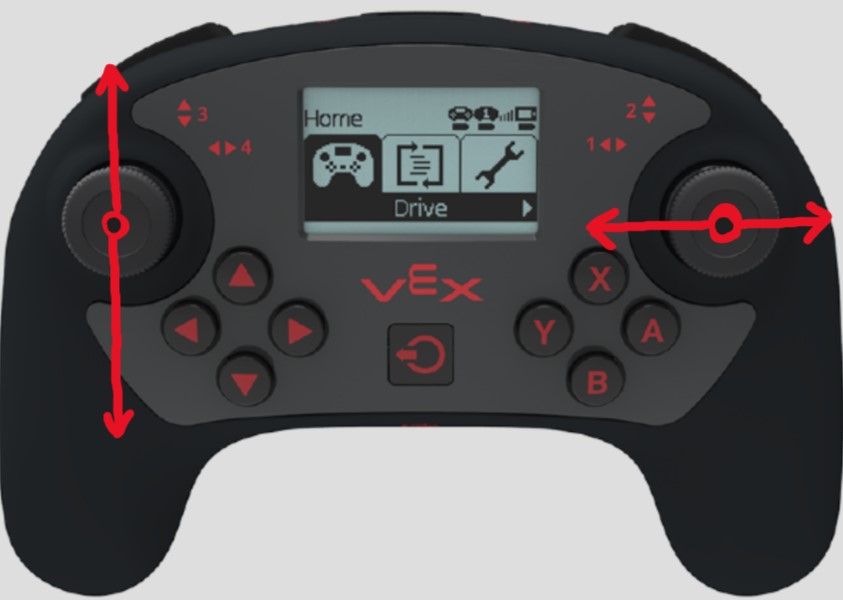
Arcade Drive (Dual Axis)
// Create the Vex objects
competition Competition;
controller Controller;          // creating the controller object
motor motorLeft = motor(PORT1); // creating the left side motor
motor motorRight = motor(PORT2); // creating the right side motor

void userControl(void) {
    while(true){

    }
}
Controller Behavior
Pressing Buttons
This is how you would hold a button and it will update behavior
// Create the Objects
competition Competition;
controller Controller;
motor Motor = motor(PORT1);

// Create a counter
void userControl(void) {
    while(true){
        if (Controller.ButtonA.pressing()){
            motor.spin(fwd); // Spin the motor forwards
        }
        else if (Controller.ButtonB.pressing()) {
            motor.spin(reverse); // Spin the motor forwards
        }
        else {
            motor.stop();
        }
    }
}
Toggle Buttons
This is how you would press a button a single time and it will update behavior to true/false. In this example we are imitating a system such as a pnumatic piston turning on/off.
There are two 'pressed' functions for programming on the controller, Controller.ButtonA.PRESSED (true/false output) and Controller.ButtonA.pressed(callback). In most instances you will want to use the 'PRESSED' function.
// Create the Vex objects
competition Competition;
controller Controller;
digital_out digout = digital_out(Brain.ThreeWirePort.A);

// Create a counter
bool setVar = false;

void userControl(void) {
    while(true){
        if (Controller.ButtonA.PRESSED){
            if      (setVar == true) { setVar = false; } // check if setVar is true, set to false.
            else if (setVar == false) { setVar = true; }  // check if setVar is false, set to true.

            digout.set(setVar);
        }
    }
}
Counter Buttons
This is how you would press a button and it would count up; Use with arrays and PID's are super helpful. In this example, we are spinning a motor to a certain degree callout.
// Create the Vex objects
competition Competition;
controller Controller;
motor Motor = motor(PORT1);

// Create a counter
int countVar = 0;
int matVars[3] = {0, 45, 90};

void userControl(void) {
    while(true){
        if (Controller.ButtonA.PRESSED){
            countVar++; // Add 1 to count var

            if (countVar > 2) { countVar = 0; } // checks if countVar is greater than a certain number, resets to original value

            motor.spintoPosition(matVars[countVars], false) // spins motor to 0, 45, or 90 degrees
        }
    }
}